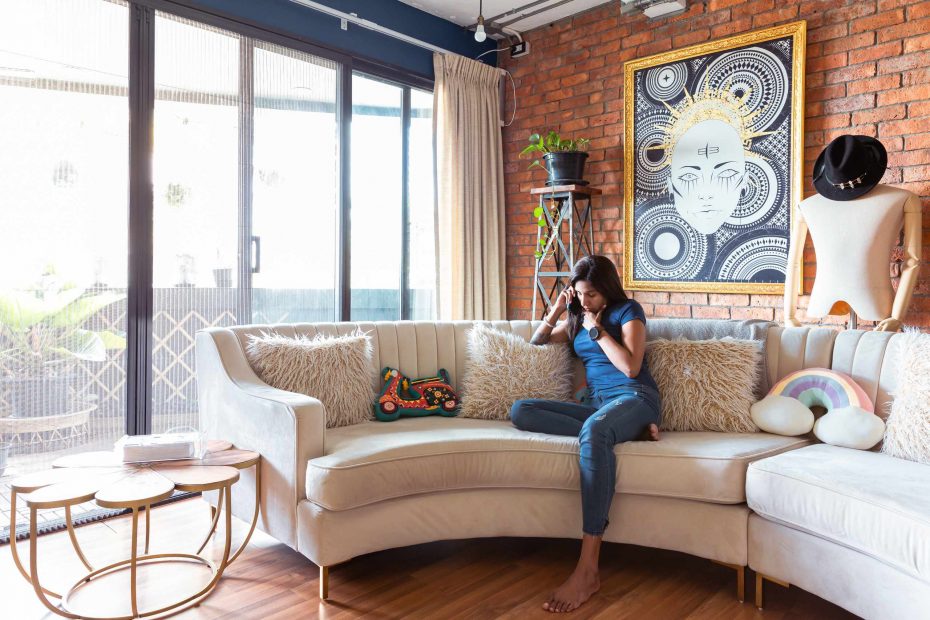
Take the picture as you see through the camera, as if you are seeing the space for the very first time. In a room photo, a cable hanging by the sofa, a wrinkled pillow, a neon sticker on a bottle, or an unwanted reflection can feel like it is screaming more in the photo than it is in the actual room. Interior photography doesn’t require a spotless, showroom-perfect room, but it does require you to think through the little items that will interrupt the flow of light, lines, and placement of furniture.
First, start with the perimeter of the camera frame. The corners, baseboard line, windowsill, and tabletops are often the first places that you see things piling up in the photo: charging cords, bags, remote controls, cleaning rags, tissue boxes, stray documents, or a half-sneaker. These items may not seem significant in the room, but the camera can use those to become a focal point. If someone looks at the cord before the sofa or the bottle before the wall shelf, the room will be harder to process.
Take a closer look at reflective surfaces. A mirror, a shiny kitchen cabinet, a clear glass table, a metallic floor lamp, or a framed print can easily show back into the image you: the person holding the camera, the phone used to snap the photo, a brightly lit window, or items from another room of the home. Before snapping a photo, scan the reflective surfaces slowly. You might not even have to pick up the reflective object, but just changing your perspective. Maybe you should change the color of an item being reflected in the mirror, or just move a different spot in the room where it won’t be reflected into your photo.
Fabrics, such as those on bedding and upholstery, can either look like a relaxing space or a cluttered space. While throw pillows, blankets, bedding, curtains, rugs, and bath towels don’t need to look straight as board to be photographed nicely, they do need to look intentional in the photo. A wrinkled throw can take focus away from the comfort or lines of a bed. A poorly hung curtain can distort the lines of a window. A fraying corner on a rug can ruin the crispness of the foreground. Keep the fabrics clean only in ways that contribute to the shot, and don’t go too far to fix the room to the point where it looks fake.
One easy thing to try before moving anything is to take a photo, review it on the camera screen, and select the three main distracting items. Pick and choose the item: unplug the extension, adjust the throw pillow, remove the items on the tabletop, close the cabinet, or just take two objects off a side table instead of seven. Take the photo again from the same camera height and perspective, and note the difference in how these changes affect the negative space, the crop, or the level of calm in the photo.
Don’t make the room too sterile, and remember that things like books, throw pillows, plants, trays, and other decorative accessories help the room feel welcoming and give the photo context. Just remember if it is helping the composition or distracting from it. If the accessory adds a sense of dimension, texture, or focal point, leave it. If it is simply clutter, obscuring a portion of furniture, covering an important window, or creating a messiness of wall color, remove it.
The photo should be as though it was taken in an uncluttered room, which makes it much easier to tell exactly what the room looks like. After the clutter check, do one final check of the wide shots, medium furniture shots, and any close-up shots to be taken. The best improvement will be a subtle one: cleaner corners, fewer objects near the frame’s edge, tidier furniture, and the room just letting light, lines, and materials come to the forefront.