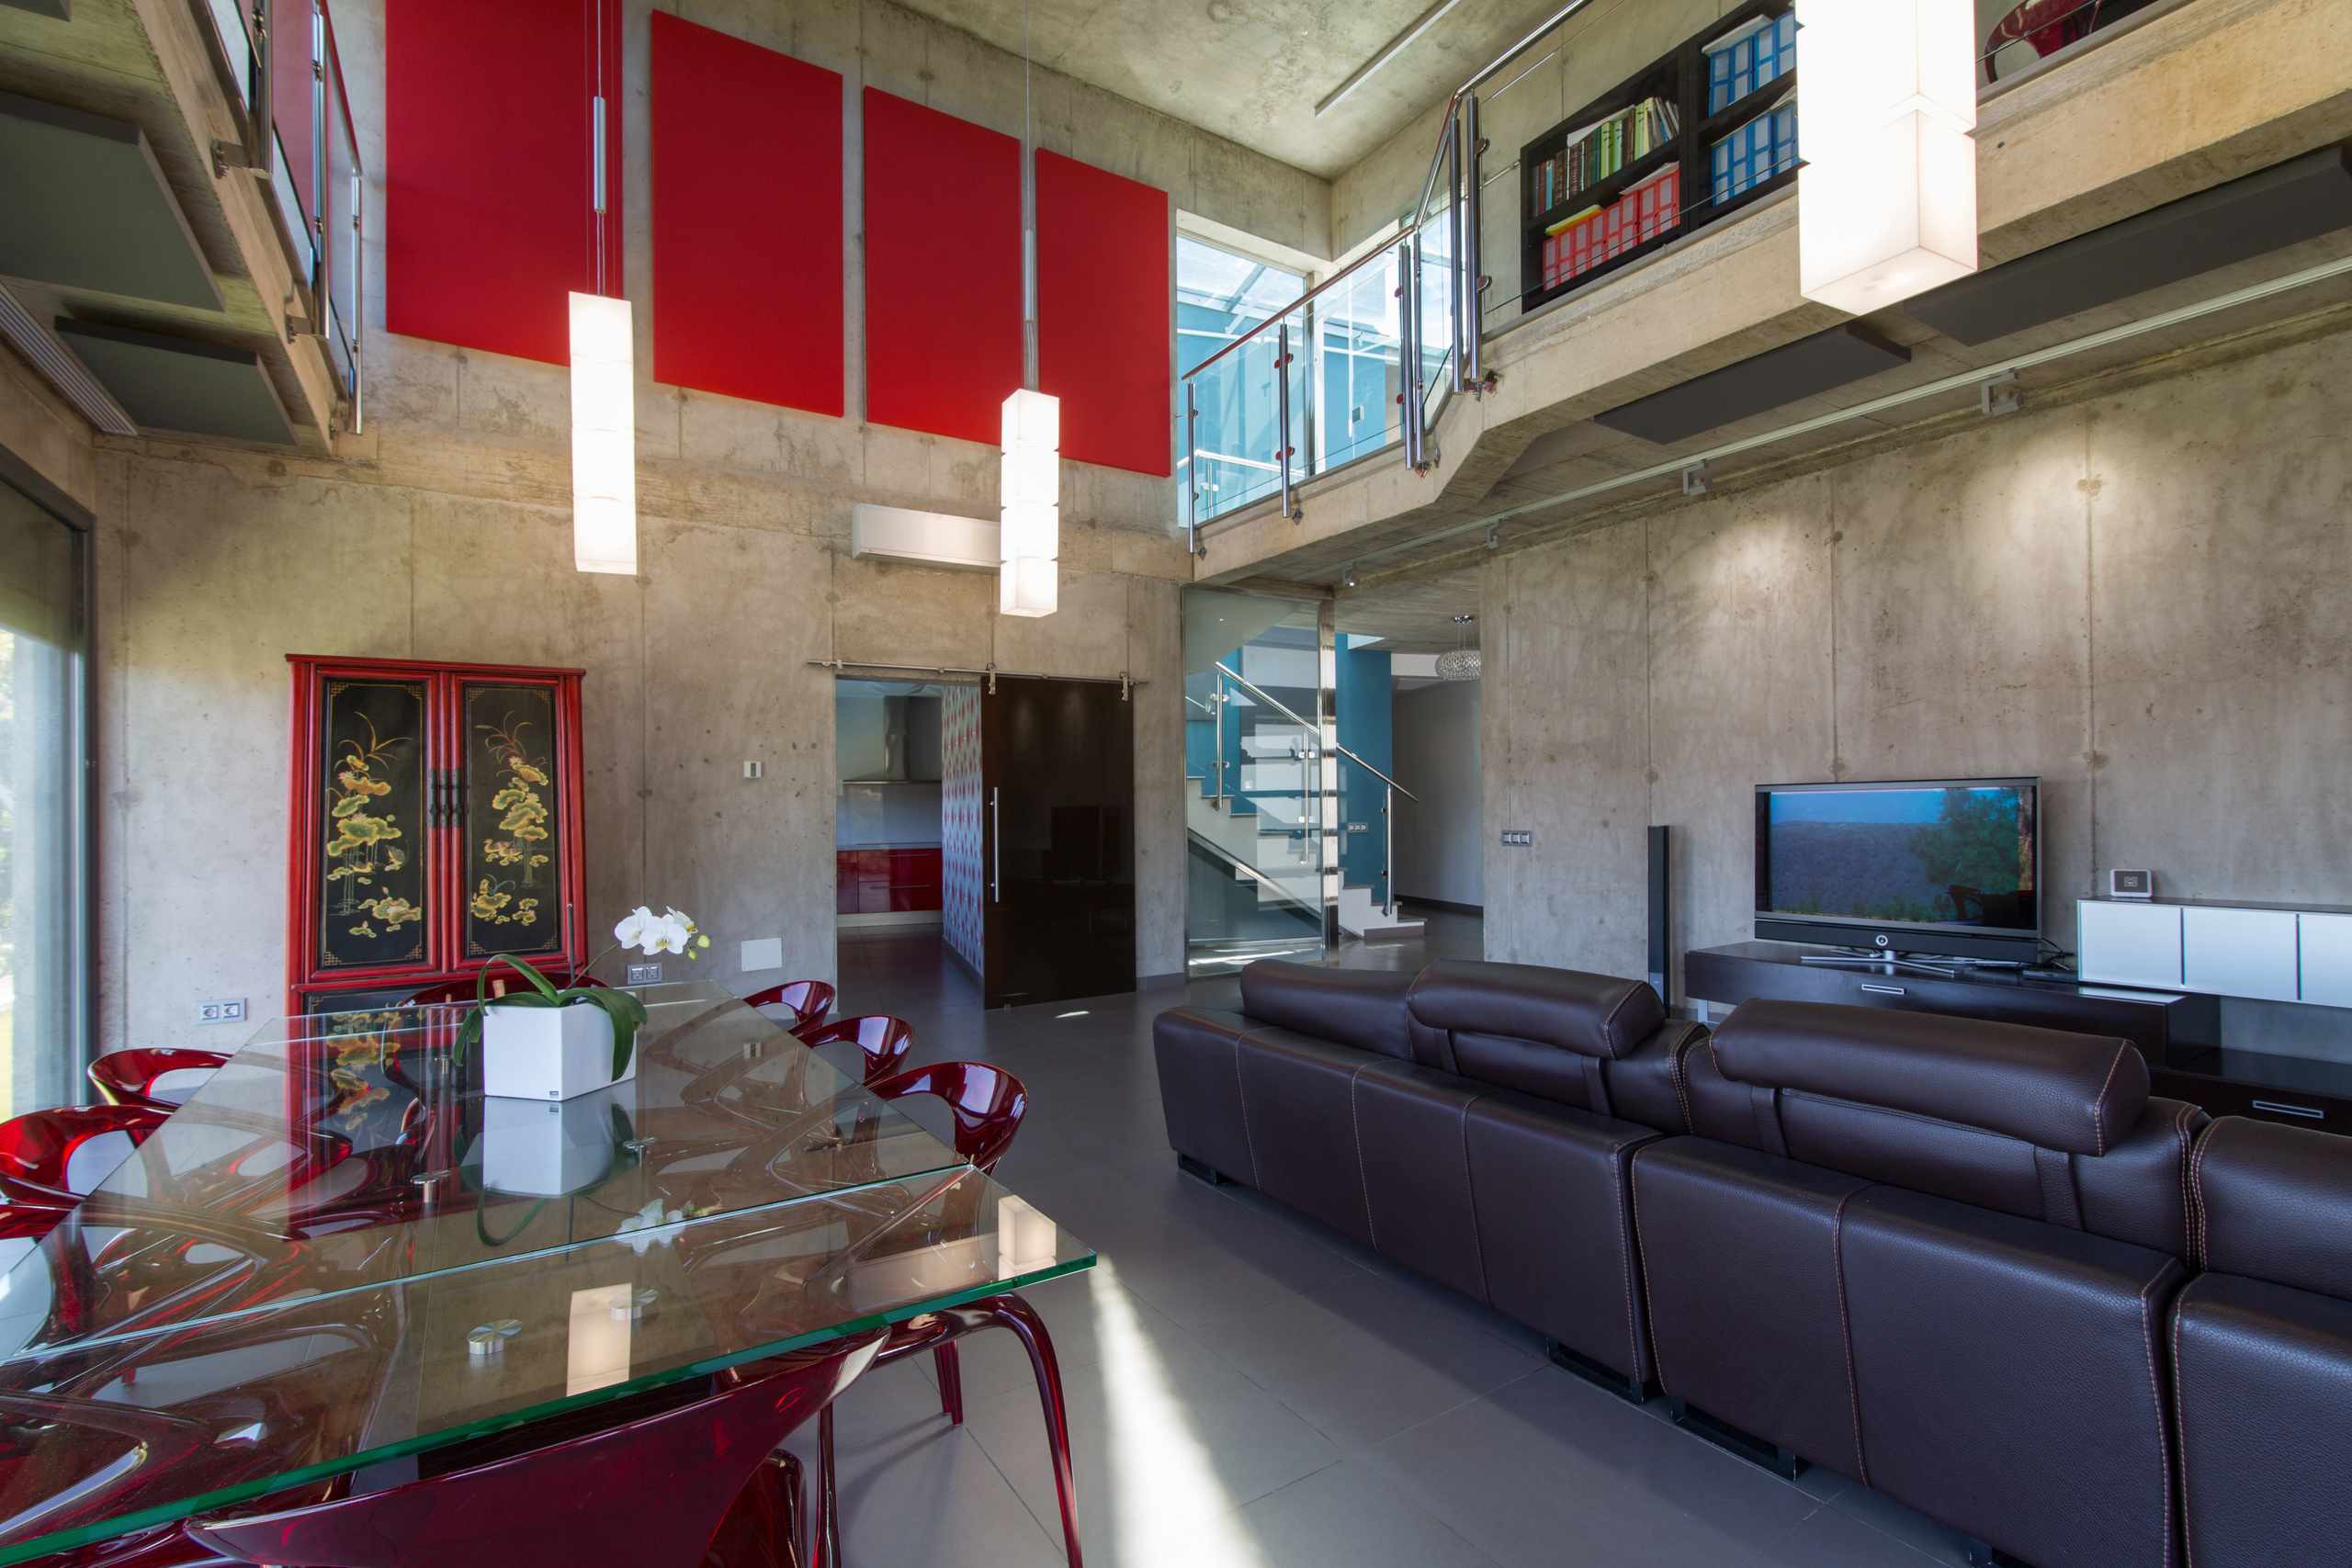
About The InteriorPulse Approach
A practical way to study room angles, window light, vertical lines, framing, and small visual details before relying on heavy editing.
Rooms Are Practiced Slowly
Look Before Shooting
Practice begins with a calm room scan: where the window light falls, which corners feel crowded, and whether shelves, doors, and furniture edges sit straight in the frame.
Compare Small Changes
Instead of chasing one perfect shot, the course uses small comparisons in height, angle, exposure, and distance so beginners can see why a room photo changes.
Review What Feels Off
Each practice set is checked for leaning verticals, blown windows, muddy shadows, mixed lighting, awkward cropping, clutter, reflections, and color that not feels natural.
How Progress Is Built
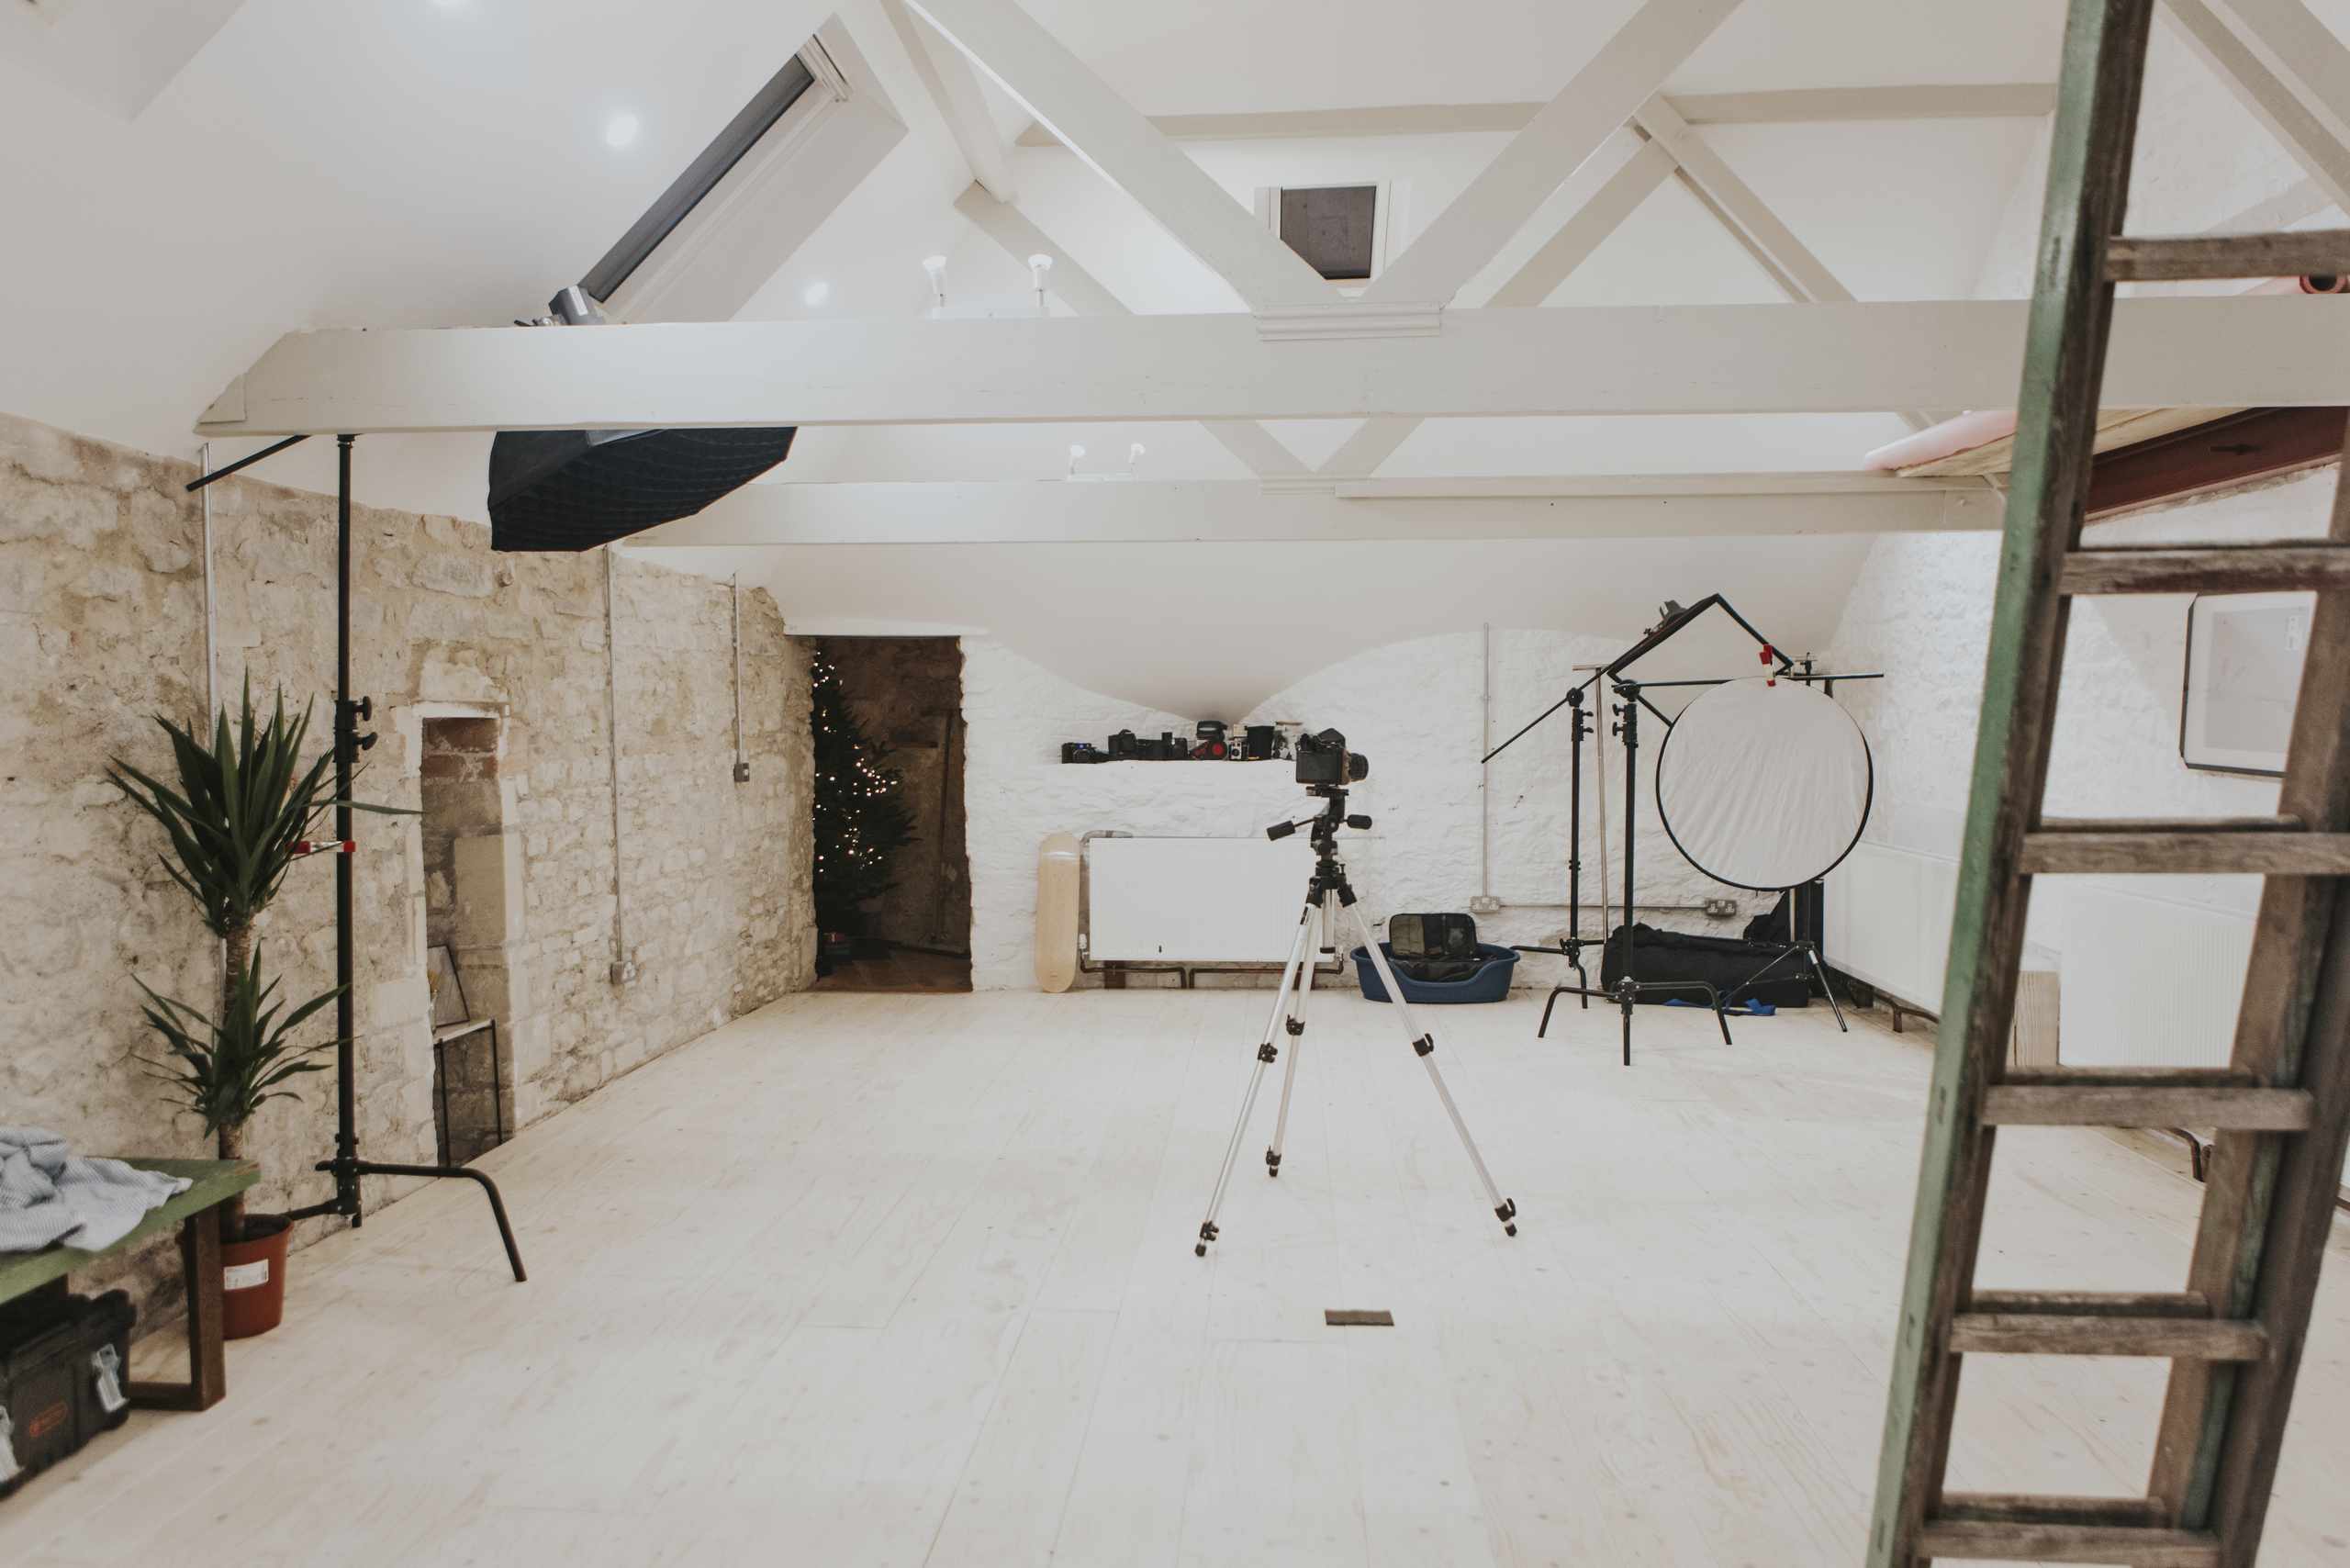
Interior photography improves when the same room is photographed with clearer decisions. The course keeps attention on visible corrections: a straighter door frame, a calmer corner, a better exposure point, or a more useful detail shot.
Repeatable camera positions
Side-by-side room photo review
Natural-looking light and color checks
How Practice Works
Choose One Space
Use a living room, bedroom, kitchen corner, desk area, or another simple interior with visible light, furniture, and a few details.
Test Angle And Light
Try a few camera heights, check the grid, watch bright windows, and notice how lamp light changes the wall color.
Build A Small Set
Create one wide shot, a few medium furniture views, and detail photos of texture, decor, shelves, textiles, or wood grain.
Angles Practiced
Light Setups Checked
Frames Reviewed
Details Photographed